
How to Set Up a Property Management Chart of Accounts
If you manage rental property, clear records matter a lot. A chart of accounts helps you track income, expenses, debts, and assets without confusion. A property management chart of accounts shows where money goes and why. It keeps reports simple, useful, and ready for review at any time. Without it, your books get messy fast, and fixing them takes more work than setting things up right from the start.
This blog explains how to build a chart of accounts for property management. You will learn which accounts to use, how to group them, and how to track each property without clutter. Whether you manage one home or many, this setup will keep your records clean and your decisions backed by numbers you can trust.
What Is a Chart of Accounts?
A chart of accounts is a full list of all accounts used to record financial activity. Each account has a unique name and an associated number. You use these accounts to sort income, expenses, assets, debts, and owner equity.
This setup lets you record every transaction in the right place. It also gives you reports that make sense. You can see how each property is doing, compare expenses, and spot problems early.
Why is the Property Management Chart of Accounts essential?
As a property manager, you deal with rent, repairs, fees, taxes, deposits, and more. Each of those needs a clear place in your records. A property management chart of accounts gives you a simple way to track every dollar.
It helps you:
- Track income and expenses by property
- Keep reports clear and useful
- Match your records to tax forms
- Spot waste or missed income
- Stay ready for audits or lender reviews
Without this kind of setup, you waste time and risk costly mistakes.
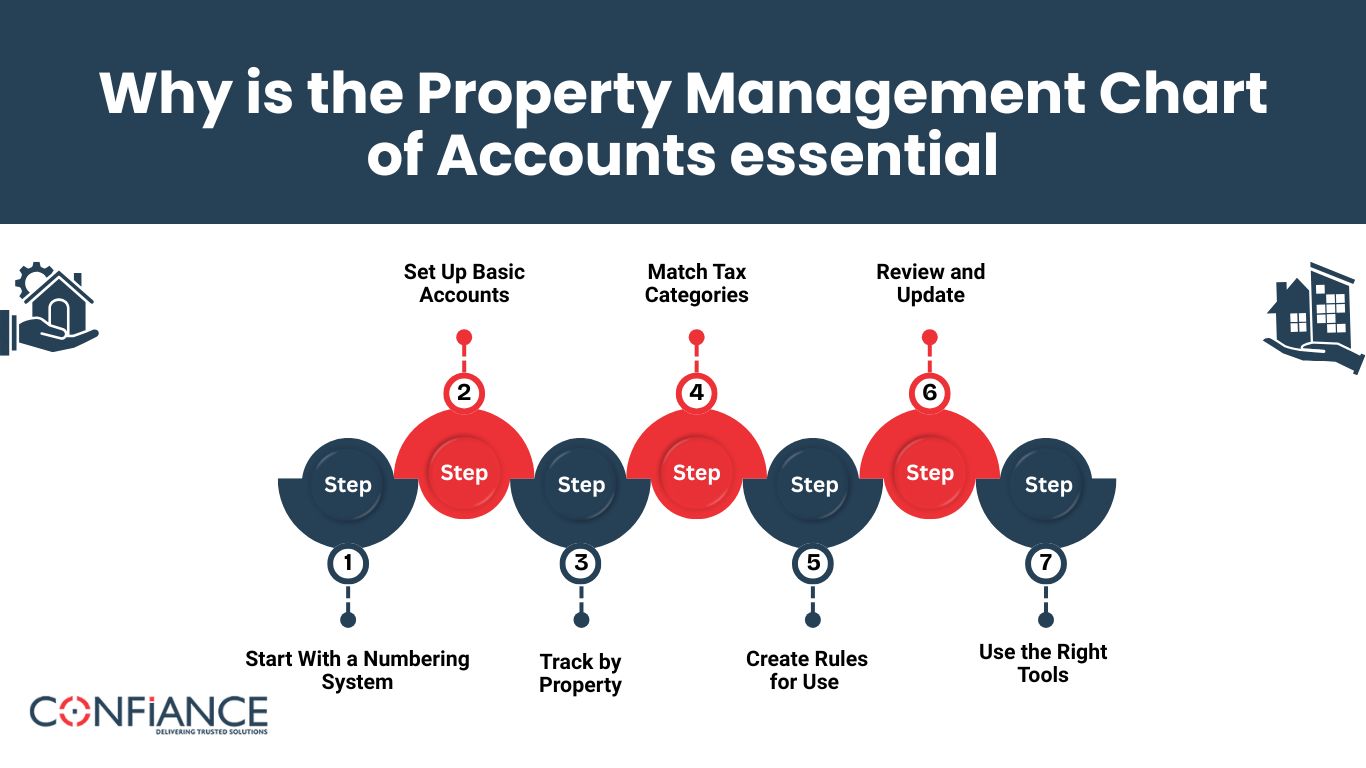
Step 1: Start With a Numbering System
Use number ranges to group your accounts. This keeps your chart organized.
A common system looks like this:
- 1000 to 1999 – Assets
- 2000 to 2999 – Liabilities
- 3000 to 3999 – Equity
- 4000 to 4999 – Income
- 5000 to 5999 – Expenses
Leave gaps between account numbers so you can add more later. Round numbers work best. They keep the chart easy to scan.
Step 2: Set Up Basic Accounts
Start with the core accounts that apply to most properties.
Assets
Assets are things owned and controlled by business.
- 1000 Checking
- 1010 Savings
- 1100 Security Deposits Held
- 1200 Prepaid Expenses
- 1300 Property Asset
- 1400 Accounts Receivable
Liabilities
Liabilities are debts or future payables your business owe.
- 2000 Mortgages Payable
- 2100 Credit Card Payable
- 2200 Security Deposits Payable
- 2300 Taxes Payable
- 2400 Other Loans
Equity
These show owner contributions and retained funds.
- 3000 Owner Contributions
- 3100 Owner Draws
- 3200 Retained Earnings
Income
These show money earned from normal operations.
- 4000 Rent Income
- 4010 Late Fees
- 4020 Application Fees
- 4030 Pet Rent
- 4040 Laundry Income
- 4050 Other Tenant Charges
Expenses
These cover operating costs and property upkeep.
- 5000 Mortgage Interest
- 5010 Property Taxes
- 5020 Insurance
- 5100 Repairs and Maintenance
- 5200 Utilities
- 5300 Property Management Fees
- 5400 Legal and Accounting
- 5500 Advertising
- 5600 Cleaning
- 5700 Pest Control
- 5800 Supplies
- 5900 HOA Dues
- 5950 Travel and Mileage
Avoid vague names like “Miscellaneous.” Use clear and simple labels that match what you are tracking.
Step 3: Track by Property
If you manage more than one property, set up your chart to break down income and expenses by location. Let’s look at some ways how you can do this:
- Use tracking labels or tags in your software
- Add subaccounts under each main account
- Use a class or project field if your software allows it
For example:
5100 Repairs
- 5101 Repairs – Maple Street
- 5102 Repairs – Lakeview Drive
This keeps the chart clean and still lets you run reports by property. Avoid making a complete and separate chart for each property. That adds clutter and makes things harder to manage.
Step 4: Match Tax Categories
Your chart should line up with the way you report income and expenses on your tax return. For rental property, this usually means using Schedule E.
Look at the categories on the form. Use the same or similar names in your chart. This makes tax prep faster and helps your accountant get the numbers right.
Example categories from Schedule E:
- Advertising
- Cleaning and Maintenance
- Commissions
- Insurance
- Legal and Professional Fees
- Mortgage Interest
- Property Taxes
- Repairs
- Supplies
- Utilities
- Depreciation
Match these with your chart as closely as possible. This keeps your records easy to review at tax time.
Step 5: Create Rules for Use
Once your chart is built, set rules so others follow it. This helps you in avoiding confusion and maintain clean records.
Some basic rules to follow:
- Make sure to use the right account for each entry
- Never create new accounts without a review
- Use property tags or labels for every transaction
- Keep notes simple and direct
- Spot errors and fix them quickly
You do not need a long manual. A one-page guide with a few examples is enough.
Step 6: Review and Update
Look over your chart every few months. Remove old accounts you no longer use. Rename unclear ones. Add accounts only when needed.
Avoid creating new accounts for small one-time items. Use a clear general account for those. Only create detailed subaccounts if the data helps you make decisions.
Your chart should stay simple and easy to manage, no matter how large your portfolio gets.
Step 7: Use the Right Tools
Accounting software can help you set up and use chart of accounts in the right way. Pick one that supports custom accounts, tags for properties, and clean reports.
Popular options include:
- QuickBooks
- Xero
- Buildium
- AppFolio
- Rentec
- Stessa (for smaller portfolios)
Pick software that matches how you work now. Do not overpay for features you do not use.
Common Mistakes to Avoid while Setting up Chart of Accounts for Property Management
- Using vague labels
- Mixing personal and business funds
- Creating too many accounts
- Ignoring unused accounts
- Skipping property tags
- Letting others change the chart without review
A property management chart of accounts is meant to reduce confusion. Make sure to keep it simple and stick to the structure you create.
Summary of How to Setup Chart of Accounts for Property Management
- Start simple
- Use plain names
- Track by property
- Review often
Setting up a chart of accounts for property management takes a little time upfront. But once it is in place, it saves you hours every month. It keeps your records clear, your reports clean, and your tax preparation smooth. Confiance possesses great expertise in providing accounting and bookkeeping services for property management. Contact us now to set up your property management chart of accounts correctly!
FAQs
What is meant by a chart of accounts in property management?
It is a full list of account names and numbers used to track money. Each account records a type of income, expense, asset, debt, or equity. It helps property managers sort rent, repairs, deposits, fees, and more. It keeps records clean and easy to read.
What are the 5 key types of chart of accounts?
The 5 key types are assets, liabilities, income, expenses, and equity. Each one shows a different part of your records. Assets show what you own. Liabilities show what you owe. Equity tracks owner value. Income shows what you earn. Expenses show what you spend to run the business.
How to prepare a chart of accounts?
Start by choosing number ranges for each account type. Set up core accounts for assets, debts, equity, income, and expenses. Use clear names for each account. Add property tags if needed. Match your setup to your tax forms. Keep it simple so others can follow it without help.
What 5 basic ledger divisions are shown in a chart of accounts?
The five divisions are: assets, liabilities, equity, income, and expenses. Each one group accounts that serve a shared purpose. This keeps your records clear and helps you track business activity the right way.